This post is an archival post from the original Datamancer.net site, which is no longer online. It was written by Richard Nagy when he built the project, before he passed away. We have kept it public, unchanged apart from the layout, so the information stays available to as many people as possible.
Here is a brief overview of the creation of the brass faceplate for my laptop. The best way to make sharp corners like this is with a metal brake (I normally use a 3-in-1 slip roll/shear/box brake machine), but for the sake of the tutorial and the benefit of the average hobbyist, I used this down-and-dirty method to show that you don’t need expensive metalworking tools to achieve an impressive result.
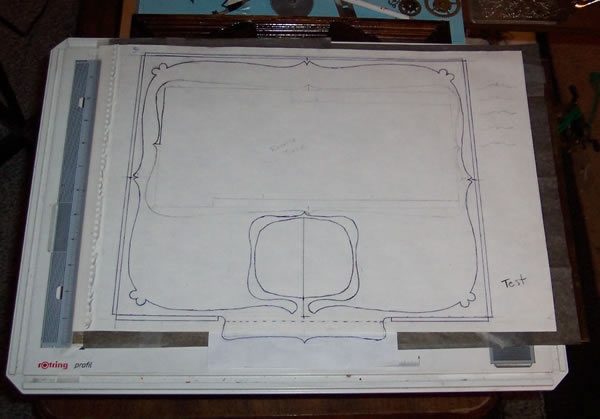
Well, as with most contraptions, it all starts with a plan and a drawing. After taking detailed measurements of the wooden frame, I sketched the rough design onto a large piece of drawing paper. I kept the design symmetrical by drawing one quarter of each shape then making a small template with a piece of clear plastic (old overhead projection transparencies), flipping and tracing it into each corner. Finally, my photoshop skill set applied to something tangible!
After that, I laid a piece of graphite transfer paper between the paper and the brass and traced over the lines.
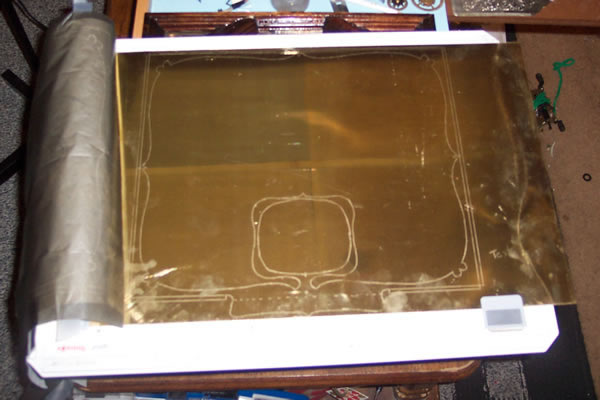
The design was then cut out with a pair of aviation tin snips and a steady hand. If you have the time, patience and equipment, it’s actually more advisable to use a coping saw instead of snips. As the snips cut through the brass, the teeth leave tiny twists and ridges which warp and stretch the metal slightly. It’s not too big a deal, but cutting with snips will require a bit of finish work later.
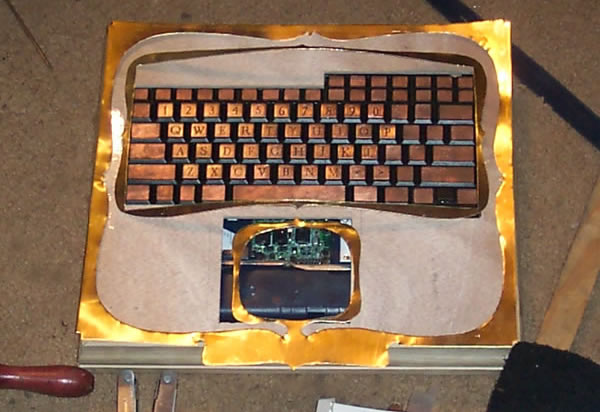
Ignore the off-center hole in the wooden face. It’s a scrap piece from when I was experimenting with different placements of the mouse.
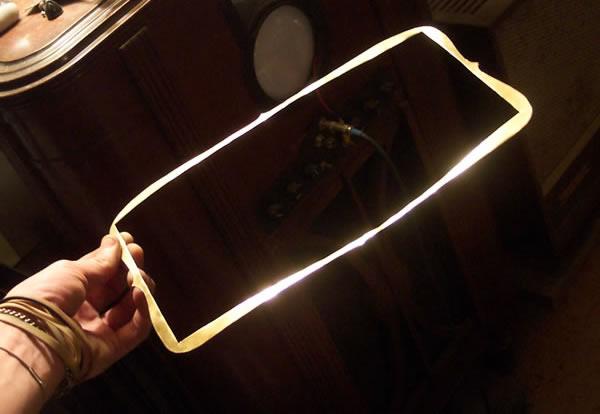
(this was a keyboard border that I eventually left out of the finished design…BTW that’s my Bass Amp in the background)
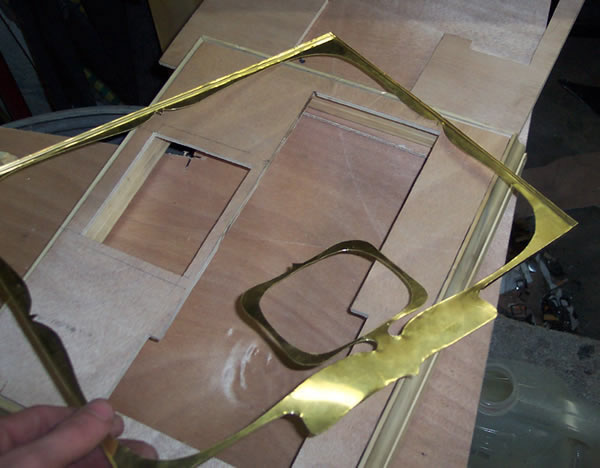
You may have noticed that I drew a small border around the design in the first pic. If you didn’t, go ahead…scroll up and look again. I’ll wait. ………….ok, back? Good. That border is for a small 90-degree bend that goes around the entire perimeter of the brass border. Putting a bend in any piece of metal stiffens it greatly and in this case, also smooths out the warps and wrinkles in the flat display surface of the border.
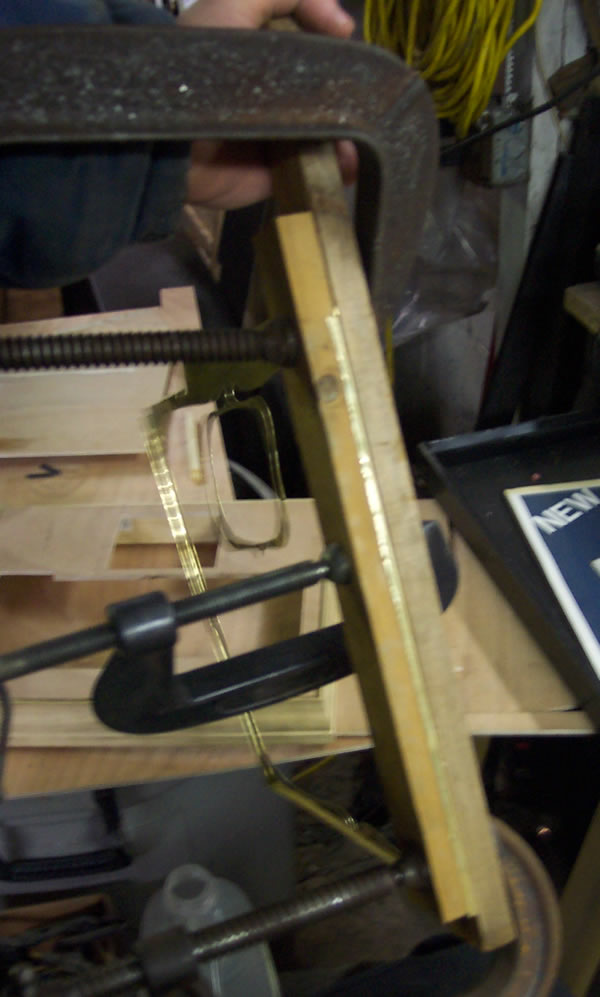
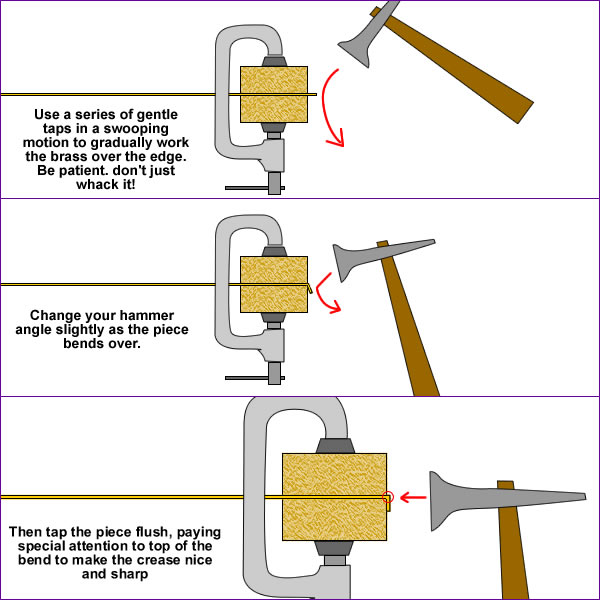
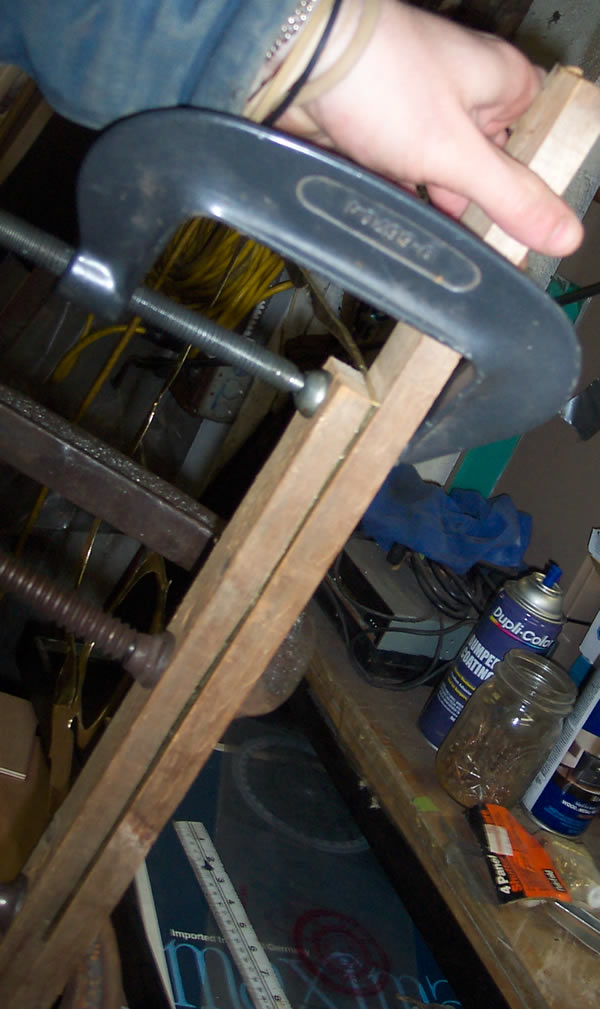
To make the bend, I simply clamped the brass tightly between two pieces of scrap wood (with nice, sharp corners on them), leaving the small margin sticking out, then tapped it down with a flat-faced auto body hammer. Apologies for the blurry pic.
After that, I bent the front piece of the faceplate that hangs over the front of the laptop and performed a test fit.
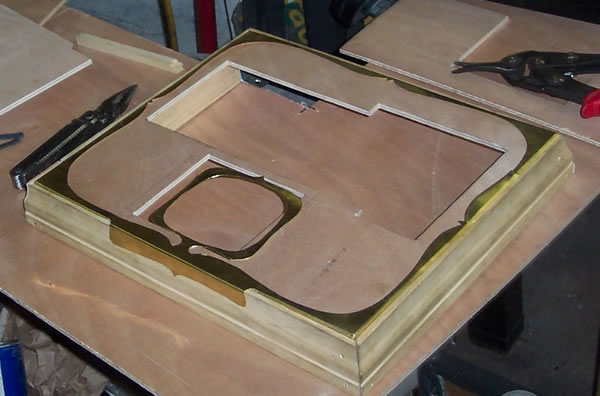
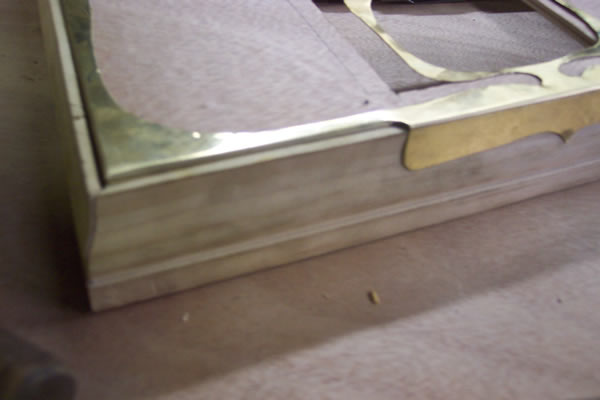
Voila! A brass faceplate.